How to Fix Water Damage in a Camper: A Quick Guide
Recognizing the Signs of Water Damage in Your Camper
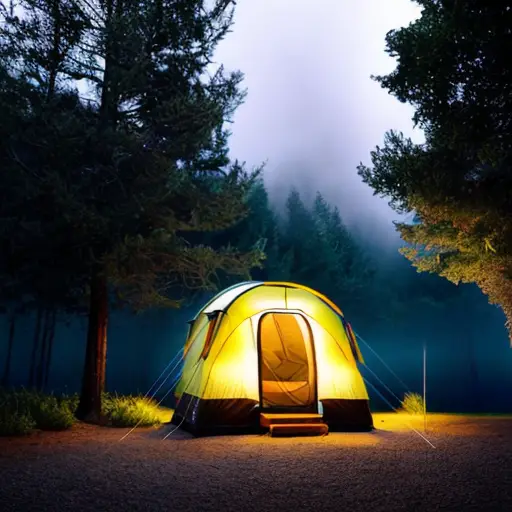
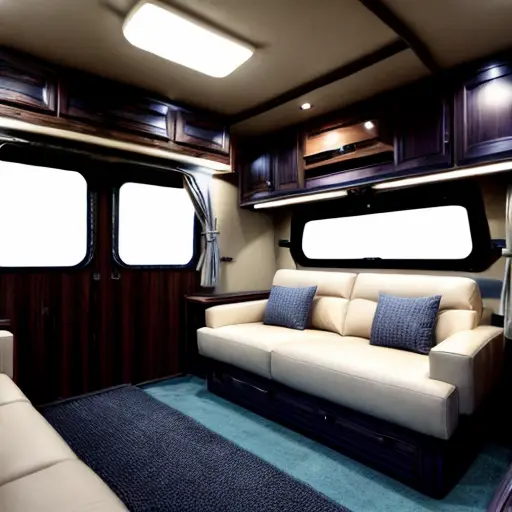
So your idea of an idyllic camping trip turned into a soggy mess? Well, fret not my fellow adventurous souls! It’s time to recognize the signs of water damage in your camper and bring back that beloved dry sanctuary on wheels. As you walk into your portable abode, be on the lookout for discolored walls resembling abstract art, because unfortunately, water doesn’t make the best artist. Soft or spongy floorboards, reminiscent of a trampoline, are a telltale sign of trouble, so hold off on practicing your mid-air flips for now. And my personal favorite, the sneaky moldy smell that’s bound to make you question your decision-making skills. Now that you’ve mastered the art of recognizing water damage, it’s time to grab those tools and show that water who’s boss. Get ready to fix your camper while channeling your inner MacGyver – it’s hammer time!
Diagnosing the Severity of Water Damage and Assessing the Scope of Repairs
An interesting fact about how to fix water damage in a camper is that moisture readings can help determine the extent of the damage and guide the repair process. Moisture meters can be used to measure the moisture content in various materials, such as wood, insulation, and walls, to identify areas affected by water damage. This technology enables owners to accurately assess the damage and avoid unnecessary repairs, ultimately saving time and money in the restoration process.
So, you’ve decided to take the plunge and embark on an epic camping adventure, only to find your camper swimming in a pool of unwanted moisture. Well, fear not my resilient road-tripper! Diagnosing the Severity of Water Damage and Assessing the Scope of Repairs in your beloved mobile home can be a bit like deciphering an ancient civilization’s hieroglyphs – confusing and perhaps a bit arduous, but totally doable! Grab your magnifying glass and channel your inner Sherlock to inspect every nook and cranny, tracking down any sneaky signs of damage. From soggy wallpapers to suspiciously squishy floors, every clue brings you closer to victory! Once you’ve determined the extent of H2O havoc, it’s time to draft a repair plan fit for the camper gods. Remember, perseverance and laughter will be your trusty sidekicks on this watery escapade!
Step-by-Step Guide to Repairing Water Damage in Your Camper
So, you’ve decided to embark on the exciting adventure of repairing water damage in your camper, huh? Well, grab your tool belt and get ready to dive headfirst into a watery mess of questionable proportions! Step one: Denial. Yes, my dear reader, let’s start by pretending that the ominous gray spots on your ceiling are modern art installations and the muffled squelching sound beneath your feet is actually a state-of-the-art sound system. Embrace the delusion, my friend, because next up is step two: Panic. This is where you frantically Google random terms like ‘How to swim like an otter’ or ‘Amateur plumbing for dummies.’ Take a moment to let the panic set in, because in step three, we’re going to need that adrenaline rush to fuel our motivation. Step three: Acceptance. It’s time to face the music and admit that, yes, there’s a water damage situation in your cherished camper, but fear not! We’re about to transform into DIY experts armed with nothing but determination, an assortment of power tools, and a waterproof cape. Step four: Daredevil mode. Suit up in your superhero gear and channel your inner Aquaman (or Aquawoman) as you tackle the source of the water damage. Is it a leaky pipe, a cracked roof, or simply the universe having an oddly hilarious sense of humor? Whatever it may be, use that DIY aura to fix it like a boss. Step five: Dry spell. Once you’ve eliminated the threat of further water intrusion, it’s time to dry out those previously saturated areas. Set up fans, dehumidifiers, and maybe even some dancing penguins to create an atmosphere that screams ‘moisture, be gone!’ Step six: Like a boss. Now that everything is dry and ready for a makeover, it’s time to repair the damage. Bust out your painting skills and create a mural that’ll make the Louvre jealous, or perhaps invest in some funky wallpaper to distract from the whole water damage drama. Be creative, my friend, because we’re turning a mishap into a masterpiece! Step seven: Prevention. As you come to the end of this epic journey, it’s crucial to learn from your experience. Take precautions, perform regular maintenance, and keep an eye out for any signs of water damage. If the universe decides to play a cruel prank again, you’ll be ready to tackle it with a smirk and a tool belt. Congratulations, my fellow water damage warriors, you’ve survived this treacherous odyssey and emerged with a camper that’s more resilient than ever before. Now, let’s raise our waterproof capes for a toast to our newfound expertise and the ability to laugh in the face of water damage! Cheers!
Preventing Future Water Damage: Essential Maintenance and Best Practices
Did you know that fixing water damage in a camper can be surprisingly similar to fixing soggy cereal? Just like adding a bit of heat can revive soggy cereal, using a dehumidifier can help dry out the water-logged materials in a camper and restore it to its former glory!
So, you’ve taken your camper out for a spin and suddenly find yourself faced with the dreaded water damage. It’s like finding out your favorite camping spot is now a marshland, but fear not my fellow adventurers! Prevention is the key to avoiding future camper water damage mishaps. Start by performing essential maintenance, like inspecting and sealing every nook and cranny. And remember, just like that Instagram influencer’s skincare routine, consistency is key. Regularly check for leaks, reseal any vulnerable areas, and pray to the camping gods that Mother Nature doesn’t unleash a monsoon during your trip. But hey, Murphy’s Law may strike, and you might still find yourself knee-deep in soggy despair. In that case, might I suggest accepting the water damage as the newest, albeit unwanted, addition to your camper’s decor? It’s like a trendy water feature! Embrace it, laugh it off, and keep those repair tools handy for the next camping adventure!

Jake is a man of many talents, but his true passion lies in the world of camping and campers. With a mischievous sense of humor and a knack for storytelling, he takes his readers on hilarious adventures through his blog. Whether he's recounting his own camping mishaps or poking fun at the quirks of fellow campers, Jake's witty anecdotes and clever observations never fail to entertain. With his infectious enthusiasm for the great outdoors and his ability to find humor in even the most challenging camping situations, Jake's blog is a must-read for anyone looking to laugh their way through the wilderness.