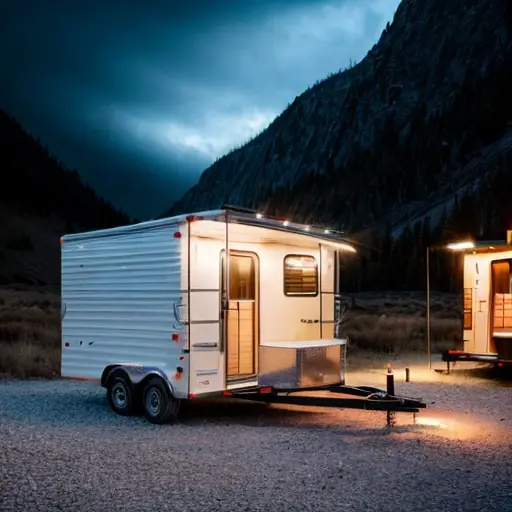
Installing a Camper Awning: A Step-by-Step Guide
Understanding the Different Types of Camper Awnings
So, you’ve finally decided to venture into the world of camper awnings to add that touch of pizzazz to your camping experience! But here’s the thing: installing camper awnings is like trying to solve a Rubik’s Cube blindfolded – a challenging yet hilarious endeavor. First, you’ve got your classic manual awnings, the camping equivalent of the bygone era when dinosaurs roamed the earth. They require more elbow grease than an intense arm workout, but hey, at least you’ll have biceps to brag about around the campfire. Then there are the electric awnings, the James Bonds of the awning world, effortlessly unfurling at the push of a button, leaving you feeling like a secret agent on a top-notch mission. And finally, we have the crank-out awnings – the literal turning point in your camping journey. Just remember, if you find yourself turning endlessly without any progress, you might need to summon a wizard for help. After all, installing camper awnings requires equal parts determination and a sprinkle of magic!
Tools and Materials Needed for a Successful Camper Awning Installation
An interesting fact about installing a camper awning is that the process typically requires at least two people due to the size and weight of the awning. This highlights the importance of teamwork and collaboration when it comes to setting up and enjoying outdoor camping experiences.
Are you tired of those awkward and fruitless attempts at setting up your camper awning? Fear not fellow campers, because today I bring to you the definitive guide on the tools and materials needed for a successful camper awning installation! First things first, make sure you have the strength of a thousand Schwarzeneggers (or a friend willing to lend a hand). Next, arm yourself with a sturdy ladder, because let’s face it, reaching the top of your RV isn’t exactly Olympic high jump material. Now, don’t forget a rubber mallet, because it’s time to put your frustration to good use. A drill with various bits is also crucial, because who doesn’t love screwing things…into place? And finally, the pièce de résistance: duct tape! Because, let’s be honest, no camping trip is complete without at least one duct tape repair. So there you have it, my fellow adventurers, armed with these tools and materials, you’ll conquer the thrilling challenge of camper awning installation and be the envy of the campground! Now get out there and show those awnings who’s boss!
Step-by-Step Guide: Installing a Manual Camper Awning

Are you tired of dreaming about lounging in the shade while camping, only to realize that your poor little camper doesn’t have an awning? Fear not, my fellow adventurer, for I am here to guide you through the hilariously comical process of installing a manual camper awning. Brace yourself, for this step-by-step guide is about to take you on an unexpectedly amusing ride!
Step 1: Preparation. Begin by clearing the area around your camper, ensuring there are no obstacles that can turn your awning installation into an impromptu acrobatic routine. Remember, we want laughs, but not at the expense of our limbs!
Step 2: Gather the Tools. Channel your inner handyman and find yourself armed with an assortment of tools that will finally make you feel like a competent do-it-yourselfer. Hammer, check. Screwdriver, check. Measuring tape, check. And let’s not forget the comedic relief of misplacing these tools at least five times during the whole process!
Step 3: Locate the Roof Mounting Bracket. Prepare yourself for a magical treasure hunt as you hunt down the roof mounting bracket on your camper. It’s almost like playing hide-and-seek with an inanimate object! Once you finally find it, celebrate with a cheer that lets the entire campsite know you’ve accomplished something monumental.
Step 4: Secure the Bracket. Now comes the time to install the roof mounting bracket. As you lift it up, enlighten the neighbors with your not-so-graceful grunts and groans, because who doesn’t love a good spectator sport? And remember, safety first! Make sure the bracket is securely fastened, because a flapping awning can quickly turn even the calmest camping trip into a wild rodeo.
Step 5: Extend Those Arms. Imagine yourself as Michelangelo when he held his brush to the Sistine Chapel’s ceiling. Extend the awning arms with grace and precision, leaving the audience in awe of your newfound awning-erecting skills. Okay, maybe not Michelangelo, but definitely more like Mr. Bean trying to assemble a tent in a hurricane.
Step 6: Attach the Awning Fabric. Marvel at the magnificent colors and patterns of your awning fabric as you attach it to the now-extended arms. Be sure to laugh like a mad scientist as you realize you’ve attached it upside down, because what is life without a few giggles at our own expense? Nothing.
Step 7: Test and Enjoy. Stand back, take a deep breath, and bask in the glory of your slightly lopsided, upside-down awning creation. Test its sturdiness and admire how it flutters in the wind, reminding you that perfection is overrated, but laughter is the key ingredient to any camping adventure.
And there you have it, my friends, a step-by-step guide to installing a manual camper awning that not only provides a much-needed shade but also brings joy and amusement to your camping experiences. Remember, life is too short for serious installations, so embrace the hilarity, let out a belly laugh, and enjoy the ride!
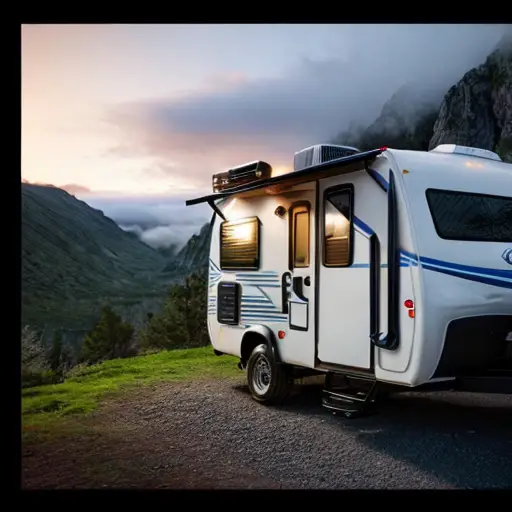
Exploring Options: Motorized and Retractable Camper Awning Installation Techniques
A fun fact about installing a camper awning is that it can instantly transform any camping experience into a cozy outdoor living space, allowing you to relax and enjoy the great outdoors while still having protection from the elements. So, not only does installing a camper awning provide convenience, but it also adds an element of fun and comfort to your camping adventures!
Are you tired of struggling with your old-fashioned manual camper awning that tests your patience every time you try to set it up? Well, fear not my adventurous friends, because we are about to embark on a hilarious journey of exploring the motorized and retractable camper awning installation techniques. Think of it as a crash course in ‘Awningology’ – the science of making your camping life easier and more enjoyable. Get ready to wave goodbye to those arm-wrestling matches with your old awning and say hello to a whole new world of awning installation magic. So buckle up, put on your adventure hats, and let’s dive into the wild and whimsical world of installing camper awnings with style and pizzazz! Who said awnings couldn’t be fun? Hold on tight!

Jake is a man of many talents, but his true passion lies in the world of camping and campers. With a mischievous sense of humor and a knack for storytelling, he takes his readers on hilarious adventures through his blog. Whether he's recounting his own camping mishaps or poking fun at the quirks of fellow campers, Jake's witty anecdotes and clever observations never fail to entertain. With his infectious enthusiasm for the great outdoors and his ability to find humor in even the most challenging camping situations, Jake's blog is a must-read for anyone looking to laugh their way through the wilderness.