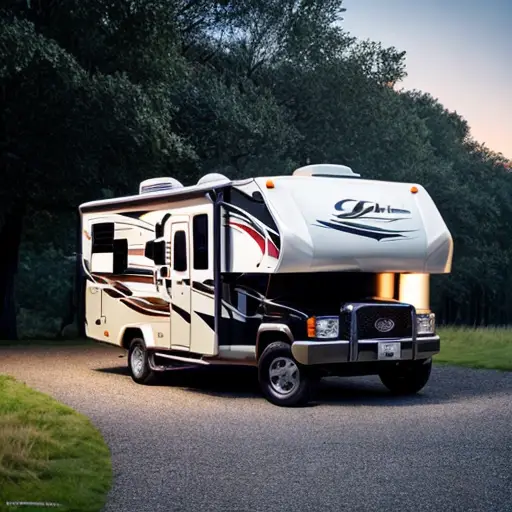
Replacing a Camper Toilet: A Step-by-Step Guide
Understanding Your Camper Toilet: A Comprehensive Guide
Looking to replace your camper toilet but feeling as lost as a pair of socks in a washing machine? Fear not, my fellow wanderlust-spirited adventurers! Understanding Your Camper Toilet: A Comprehensive Guide is here to rescue you from the clutches of toilet-related confusion. Think of it as your trusty sidekick, guiding you through the perilous path of potty predicaments. With a pinch of wit and a sprinkle of sarcasm, this guide will transform you from a clueless rookie to a bona fide champion of camper toilets. So bid farewell to those questionable odors and uncooperative flushes, my friends, because it’s time to conquer the commode conundrum, and trust me, it’ll be a hilarious adventure you won’t soon forget!
Gathering the Essential Tools and Supplies: Preparing for the Replacement
An interesting fact about replacing a camper toilet is that in some small RVs or camper trailers, the bathroom area may sometimes be transformed into a multi-functional space to optimize the limited square footage. This means that the toilet can be cleverly hidden under a counter or convert into a shower, making it an innovative and space-saving solution for camper owners.
So, you’ve decided to tackle the oh-so-glamorous task of replacing a camper toilet. Good for you, brave soul! Now, before you dive headfirst into this odorous adventure, it’s essential to gather all the necessary tools and supplies. First up, you’ll need a hazmat suit or, at the very least, some heavy-duty gloves to protect yourself from any unwanted encounters with previous camper occupants’ digestive indiscretions. And let’s not forget a trusty wrench, because just like the finest wine, camper toilets tend to age gracefully and lock their components with the strength of Hercules. Don’t forget a plunger, because, well, poop happens. And lastly, a bottle of air freshener is vital to battle the unique blend of scents that have seeped into the very essence of your camper. Armed with these quirky essentials, you’re ready to jump right into the thrilling world of camper toilet replacement. Good luck, dear adventurer! May the porcelain gods be ever in your favor.
Step-by-Step Instructions: Removing the Old Camper Toilet
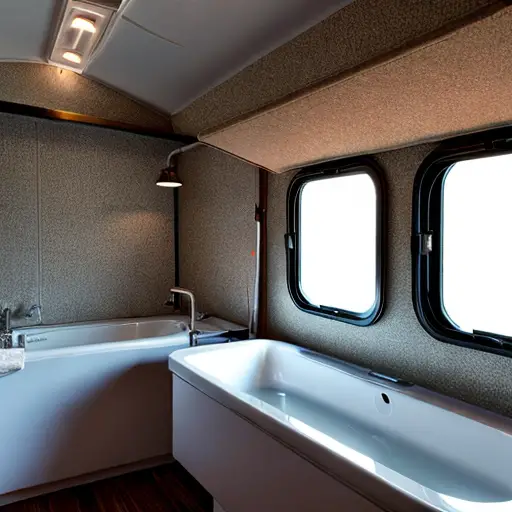
Are you tired of hearing your friends tell you that your camper smells worse than a skunk’s armpit? Well, my fellow adventurers, fear not! I am here to provide you with step-by-step instructions on how to remove that old, stinky camper toilet and replace it with a shiny, new throne fit for a king or queen (or even a slightly spoiled glamper).
Step one: prepare yourself mentally for the task ahead. This is not a job for the faint of heart or the weak of stomach. You must be ready to face the horrors that await you beneath the lid of your current porcelain abomination.
Step two: gather your tools. You’ll need a strong stomach, a sturdy screwdriver, pliers, gloves (preferably of the thick, odor-blocking variety), a face mask, and possibly a friend who owes you a favor.
Step three: take a moment to say goodbye to your old toilet. Whisper sweet nothings to it, reminding it that it has served you faithfully through countless road trips and unfortunate food choices. Thank it for being a receptacle for all your bodily waste for however many years of its existence. But don’t get too sentimental, because it’s time to get down and dirty.
Step four: locate the bolts that secure the toilet to the floor of your camper. Prepare yourself mentally for the possibility of encountering creatures that have made a cozy little home around this area, now exposed to the light of day.
Step five: use your trusty screwdriver and pliers combo to remove those bolts with brute force. For added dramatic effect, you might want to grunt and make manly noises while doing so. This will make you feel more accomplished and help you forget about the potential horrors lurking beneath.
Step six: once the bolts are off, brace yourself for the heavy lifting. Grab the toilet with all your might and extract it from its resting place. Be prepared for any leftover water or detritus to spill out, so aim carefully and don’t be startled by the contents. Remember, you signed up for this.
Step seven: dispose of the old toilet responsibly. Find the nearest hazmat facility or consult your local camper toilet funeral director for proper procedures. Take a moment of silence for your fallen comrade, and then swiftly move on to the next step.
Step eight: clean, clean, clean. Scrub the area where the old toilet once stood, using copious amounts of disinfectant. You might even want to hose down your soul while you’re at it because, let’s face it, you’ll need it.
Step nine: once the area is cleaned and sanitized, it’s time to unveil your glorious new toilet. Treat this moment like you’re revealing a piece of fine art or a celebrity crush. Gaze upon its pristine porcelain surface and be amazed at how it shines brighter than the stars in the night sky.
Step ten: install your new throne, following the manufacturer’s instructions. Make sure it’s securely fastened to the floor, just in case you encounter any sudden turbulence on your next adventure. And voila! You have successfully replaced your old camper toilet, banished the odors of the past, and emerged as the hero of your own bathroom renovation. Celebrate with a bottle of air freshener and a victory dance worthy of a standing ovation. Happy glamping, my friends!
Installing Your New Camper Toilet: Tips and Tricks for a Seamless Replacement
Fun fact: Did you know that campers often use a unique type of toilet called a cassette toilet? These toilets have a portable waste cassette that can be easily removed and replaced. So, if you ever find yourself needing to replace a camper toilet, just remember that it’s like upgrading to a fancy ‘portable potty’ with a changeable waste container! Happy camping!
So, you’ve decided it’s time to upgrade that rustic outhouse-on-wheels they call a camper toilet? Good call, my friend! Replacing your old commode can be quite the adventure, but fear not, I’ve got some hilarious tips and tricks to make this process as smooth as a brand new roll of toilet paper. First of all, remember to channel your inner handyman (or handywoman) and don’t be afraid to unleash your inner plumber if things get messy. Make sure to have a roll of bright yellow caution tape handy, just in case your significant other needs some extra warning about their newfound bathroom buddy. And for a truly seamless replacement, I highly recommend practicing your best ‘Toilet in a Space Suit’ dance routine to impress your camping neighbors as you expertly maneuver the pristine porcelain throne into its rightful place. Trust me, you’ll be flush with success in no time!

Jake is a man of many talents, but his true passion lies in the world of camping and campers. With a mischievous sense of humor and a knack for storytelling, he takes his readers on hilarious adventures through his blog. Whether he's recounting his own camping mishaps or poking fun at the quirks of fellow campers, Jake's witty anecdotes and clever observations never fail to entertain. With his infectious enthusiasm for the great outdoors and his ability to find humor in even the most challenging camping situations, Jake's blog is a must-read for anyone looking to laugh their way through the wilderness.