A Step-by-Step Guide to Reroofing Your Camper
Getting Started: Assessing Your Camper’s Roof and Gathering the Tools You’ll Need
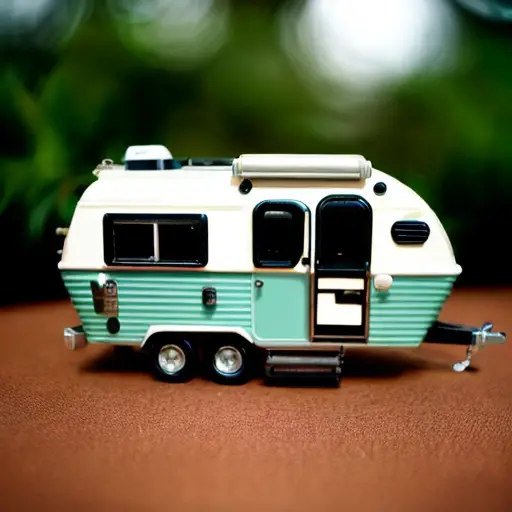
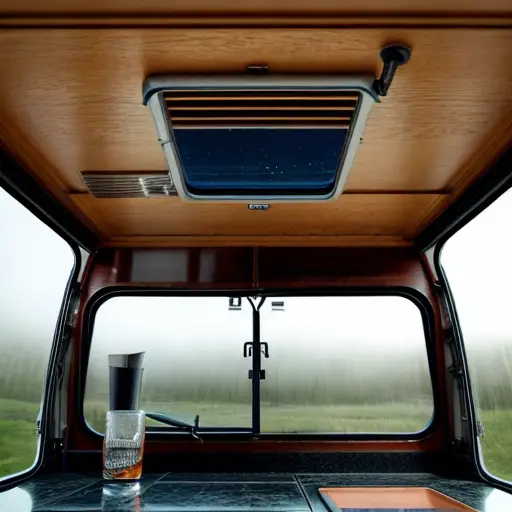
So, you’ve decided to embark on the wild adventure of reroofing your camper. Congrats! Now, before you start sweating through your favorite camping-themed t-shirt (I know you have one), it’s important to assess the current state of your camper’s roof. Put on your finest detective hat, grab a magnifying glass, and channel your inner Sherlock Holmes. Look out for cracked seals, leaks, missing shingles, and the occasional squirrel nest – these critters sure have an impeccable sense of real estate. Once you’ve played inspector gadget, it’s time to gather your trusty tools. Think of it as assembling your best roofing superhero squad: a hammer with the power of ‘SMASH!’, a utility knife with the precision of a ninja, and a paintbrush to artfully slather on liquid roof coating. With these tools in hand, and a dash of courage (or maybe a few advil), you’re ready to tackle this mission. Build that roof, my fellow adventurers, and may your camping dreams be as leak-free as a freshly brewed cup of coffee in the great outdoors.
Removing the Old Roof: Step-by-Step Guide to Safely and Efficiently Strip off the Previous Roofing Material
Did you know that reroofing a camper can also help increase its lifespan and energy efficiency? By installing a new roof with better insulation and sealing, you can reduce heat loss in the winter and keep your camper cooler in the summer, ultimately saving on energy costs and making your outdoor adventures even more comfortable.
So, you’ve decided to venture into the chaotic yet thrilling world of reroofing a camper, huh? Well, my brave friend, fear not! Today, we shall embark on a hilarious journey through the step-by-step guide to safely and efficiently strip off the previous roofing material. Strap on your tool belt, put a humorous twinkle in your eye, and prepare to bid farewell to that old, outdated roof. Remember, when life gives you lemons, grab a ladder and reroof a camper! Let’s dive in, shall we?
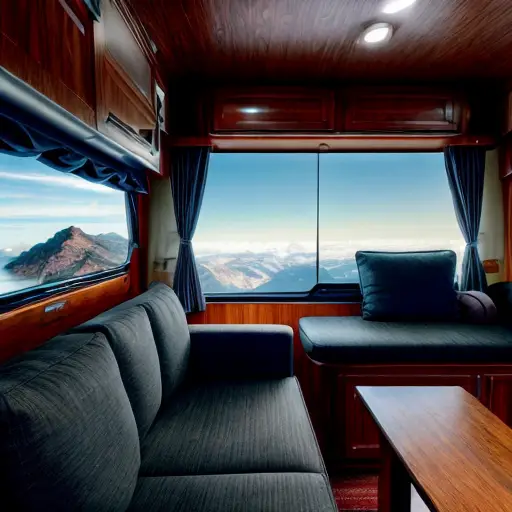
Installing a New Roof: Exploring Different Materials and Techniques for a Reliable and Weatherproof Roofing System
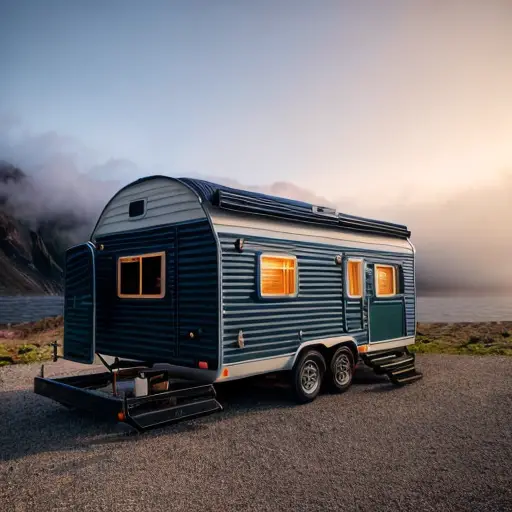
Alright, folks, gather round for a rib-tickling journey into the world of roofing. Today, we’re diving headfirst into the heart-pounding excitement of ‘Installing a New Roof: Exploring Different Materials and Techniques for a Reliable and Weatherproof Roofing System,’ with a twist! That’s right, we’re spicing things up and taking it to the wild side by focusing on none other than everybody’s favorite adventure companion, the super cool camper!
Ah, the beloved camper, your ticket to freedom on wheels, and the ultimate test of your DIY skills. Now, when it comes to reroofing this powerful beast, you need to tread carefully because, let’s be honest, you don’t want to end up camping under a leaky sky or experiencing a sudden rainfall trickling through your imagination of a solid roof. So, strap on those tool belts and get ready for a roller coaster ride of roof-related hilarity!
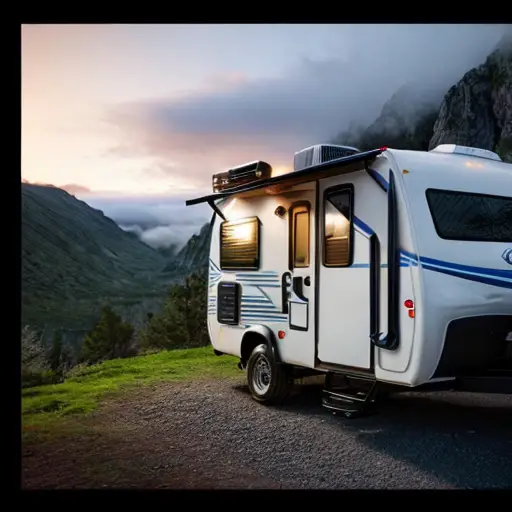
First things first, you adventurous DIYers, the materials! Oh, the choices available to you are vast and varied. Feeling traditional? Opt for good ol’ asphalt shingles, the dependable backbone of many a rooftop. With their affordability and durability, they’re like the classic dad jokes of the roofing world – everyone’s got ’em, and they never seem to go out of style. Or perhaps you’re a bit more adventurous and want to make your camper stand out in the vast sea of vacationing vehicles. In that case, say hello to metal roofing. Sleek, shiny, and oh-so-glamorous, metal sheets are the disco balls of the roofing industry, instantly transforming your camper from mild-mannered to party-rockin’ extravaganza.
Now, let’s talk techniques. Pull up your camping chairs, folks, because this is where things get really interesting. One option is the good old-fashioned tear-off method. It’s like wrestling a bear, but instead of fur, you’re tackling layers of old, worn-out roofing material. Picture yourself perched atop an elderly bear (don’t ask how it got on top of your camper; it’s a wild ride, remember?) and ripping off layers of patched-up shingles, like a superhero with a grudge against unsightly roofs. Oh, the sense of accomplishment!
But hold on, thrill-seekers, we’re just getting started! If you fancy a more innovative approach, consider adding a touch of flair with a roof-over. Think of it as layering a fashionable coat on top of your reliable old camping jacket. You’ll peel back the layers of old roofing, prepare the surface for its fabulous new outfit, and add a sleek, modern membrane on top to protect against the elements. It’s like giving your camper a trendy makeover, transforming it into a showstopper ready to hit the campgrounds in style!
So, my fellow camping comrades, when it comes to reroofing your beloved home on wheels, it’s crucial to choose materials and techniques that not only keep you dry during sudden downpours but also inject personality into your trusty camper. Whether you go the traditional asphalt shingle route or embrace the glitz and glam of metal roofing, remember that a reliable and weatherproof roof is the key to turning ordinary camping adventures into extraordinary tales of triumph and laughter.
Finishing Touches and Maintenance: Adding Sealants
Fun fact: Did you know that reroofing a camper can have a positive environmental impact? By replacing old, worn-out materials with more durable and energy-efficient options, such as solar panels or highly reflective coatings, you can reduce energy consumption and contribute to a greener future while enjoying your travels!
So, you’ve finally reached the grand finale of your DIY extravaganza – reroofing your beloved camper! Congratulations, my fellow adventurous soul. But hold your excitement, for there’s still one last step to conquer: the finishing touches and maintenance. Now, this is where you whip out your trusty sealant like a heroic roofer brandishing a mighty caulk gun. With the grace of a ballerina and the precision of a ninja, you shall seal all the seams, cracks, and crevices of your newly installed roof. Remember, my dear self-proclaimed roofer, a generous application of sealant is like a barricade against Mother Nature’s wrath, making sure no pesky raindrops find their way into your humble abode on wheels. So go forth, my brave companion, and adorn your reimagined roof with this final touch – your sealant shield of invincibility! Bon voyage, and may you never encounter a leaky adventure in the wild again.

Jake is a man of many talents, but his true passion lies in the world of camping and campers. With a mischievous sense of humor and a knack for storytelling, he takes his readers on hilarious adventures through his blog. Whether he's recounting his own camping mishaps or poking fun at the quirks of fellow campers, Jake's witty anecdotes and clever observations never fail to entertain. With his infectious enthusiasm for the great outdoors and his ability to find humor in even the most challenging camping situations, Jake's blog is a must-read for anyone looking to laugh their way through the wilderness.